The Comprehensive Guide To Maintaining And Fixing A Zorb Ball
Zorb balls’ popularity is ever-increasing in many recreational landscapes. But in contrast with other, cheaper inflatables, like beach balls, kiddie poos, or blow-up arm floaties, zorb balls come with a significantly higher price tag. And so, ensuring they last for a long time is paramount. As the saying goes, “A stitch in time saves nine”! That means addressing minor damage and fixing the Zorb ball as soon as a tear or puncture happens can save you both money and the rest of the afternoon you were planning to use the ball for.
You can use zorb balls in water parks, outdoor adventure parks, or even for some backyard fun. Those giant inflatable balls have revolutionized how we enjoy our summers, regardless of where we use them. However, their unique design and nature make them as vulnerable to punctures as any inflatable. Whether they’re used indoors on a flat court, or outside on grassy terrain, a hillside, or on the surface of water, they are prone to puncture or tear. And so, we’ve put together the following comprehensive guide that aims to educate users on how to effectively fix and maintain a zorb ball.
Repairing Your Zorb Ball
Here is the step-by-step guide on zorb ball repair that will have you back rolling with your giant inflatable ball in no time:
1. Identifying the Leak
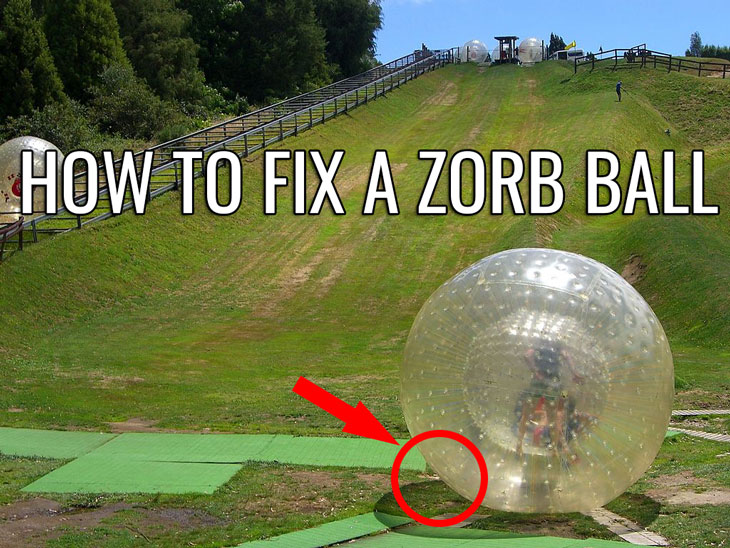
Before you start to repair, you first need to find where the issue lies. If a ball is deflating fast and doesn’t keep its inflated state for long hours, then you probably have a puncture or tear that you need to address. Sometimes, tears can be visible to the naked eye easily. But in some cases, you might have finer small tears or punctures that you can’t seem to locate. For that, there are two ways to identify where the problem lies:
The Inflation Method
When you inflate the zorb ball, listen closely. The hissing sound of air escaping is a giveaway. A slight deflation in a short time is a good indication of air leaking. So what you need to do is to inflate the zorb fully and then actively listen to the sound of escaping air. Then you’ll find the puncture.
The Soapy Water Test
There will be times when you can’t locate a puncture through visual inspection, and the puncture is so fine that the hissing sound might be too faint to notice. You can use the soapy water test then to find the damage. So mix some liquid soap with water and use a spray bottle. Spray the inflated ball with soapy water and it will produce bubbles at the leak site. This method is both effective and visually apparent.
2. Essential Tools for Repairing Your Zorb Ball
Gathering the right tools is half the battle. It’s important to have some quality tools at hand so that the repair will stick. If you use improper adhesive or tape, the fix won’t hold properly and you’ll have to redo it.
Gloves: Especially when working with adhesive substances, these will keep your hands clean and safe from the noxious compounds of strong adhesives.
Pen or Marker: You’ll need this to mark (circle) the puncture spots, so use something like a visible marker.
Scissors: Depending on the fixing method, you will need scissors to cut and shape the fixing patch
PVC Glue or Super Glue: Choose a high-quality adhesive that has waterproof properties
Waterproof Tape: A strong tape can provide a temporary fix or help in positioning the permanent patch.
Compressing tools (roller or squeegee): Depending on the fixing method you choose, you will use these to press the patch onto the area you want to fix
3. Patching Up The Zorb
Now, when it comes to patching a zorb, there are two ways to do it. Temporary fix or permanent repair. If you are having a blast in the field and the ball gets punctured, the only kind of repair you can do is a temporary one. There are adhesive tapes that will fix the tear on the spot and will hold for the rest of the day or even for a long time afterward depending on how good the tape is. For the permanent fix, you’ll need to set yourself up in your workshop and do some tinkering!
Temporary Patch
This is the easy fix. Whenever you go outdoors with those inflatables, pack a roll of fixing tape with you.
After you find the puncture, cut a tape piece slightly larger than the puncture. Slap it on, press it tightly, and it will hold for the rest of the day, guaranteed. We’ve seen fixes like this hold for weeks on end afterward. So we call this a temporary fix, but truth be told if you get yourself a good adhesive tape and are too lazy to do a permanent patch, this fix can even be a long-term one.
We’ve used this tape before for easy fixes, and it works great. It even holds for a long time, sometimes we didn’t even have to replace it with a permanent patch. So, check it out:

Permanent Repair
With gloves on, cut a slightly bigger tape piece than the previous one. Slather it generously with super glue on the sticky side. It’s like patching up a bicycle tire, but bigger. Someone should assist in slightly inflating the ball to ensure the material is taut. This helps to patch it properly. Once applied, let the patch sit undisturbed to dry for a couple of hours. Use a proper set of PVC adhesive glue if you want to make sure this fix is permanent.
Here is a great option as a good option in terms of transparent PVC glue that will get the job done properly:
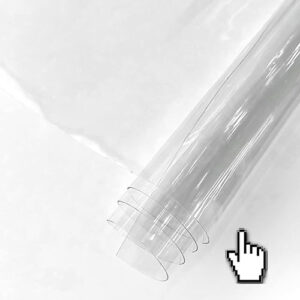
Remember that you will also need a piece of clear PVC that you can cut and adjust to the shape and size of the cut. Below there are some options. Get a sheet of clear PVC that you can then cut patches out of it that you can fix your zorb ball with.
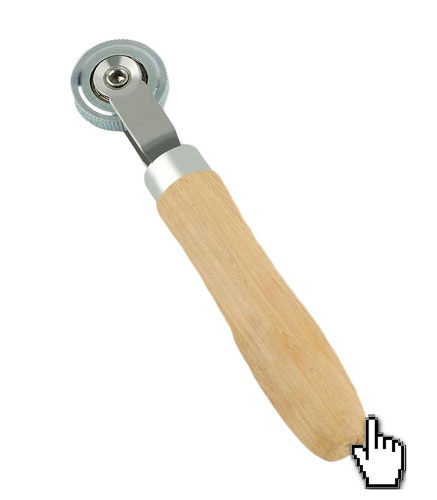
Last but not least, you will need some tools such as a roller and a squeegee to compress the repair patch onto the surface and get rid of air bubbles trapped between the materials. We’ll go into more detail on how to use these tools below, but for us here is what we’ve used before and worked great for us:
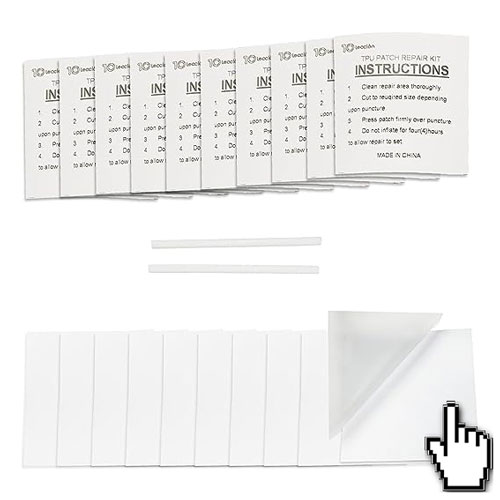
Otherwise, if you want a permanent but more easy fix, you could opt for a waterproof patching kit for repairing inflatables. These kits typically contain adhesive pathches that stick directly to the puncture. The adhesive is formulated to be both waterproof and flexible which allowes the repaired section to expand and contract with the inflatable, without breaking the seal.
Here is the process explained in greater detail:
1. Clean the Area
Begin by cleaning the punctured area thoroughly. You have to remove any dirt, grease, or debris because otherwise, the adhesive won’t bond correctly to the PVC surface. Mild soap and water should be good enough to clean it. Just make sure to rinse the area and let it dry completely.
2. Cut the Patch
Once the area is clean, cut a piece of the vinyl patching material. The patch should be large enough to cover the puncture, with a margin of at least an inch of extra material around the puncture/cut. It’s best to round the patch with a scissors, because rounded edges can prevent peeling.
3. Apply Adhesive
Most vinyl patches come with a specific adhesive. Apply the adhesive to one side of the patch. Be generous and use sufficient adhesive. Better more than less in this case. Some patches might be peel-and-stick. But if you use additional adhesive it’s even better because you end up having an even better bond to the PVC.
4. Position the Patch
Carefully place the patch over the puncture! You have to make sure it’s centered over the damage. Press down firmly. Start from the center of the patch and work your way out. You do this to eliminate any air bubbles that might get trapped underneaths. This is the best way to do it to get a tight seal.
5. Smooth Out And Press It
Use a flat-edged tool, like a credit card or a small squeegee tool, to smooth out the patch, pushing out any bubbles and ensuring a firm bond with the PVC material. In order to make sure it’s pressed on properly use a roller tool in all directions on the patch. This will compress the patch onto the surface of the inflatable and make the adhesive bond properly.
6. Let it Cure
This is an essential step. Some adhesives might feel set after a short time. Some boast a 30-minute fix time. But it’s important to actually give the bond some lengthy time to fully set. From our experience, waiting 24 hours is a safe bet.
7. Test it Out
After the cure time, inflate the PVC zorb ball to check if the patch holds and that there are no leaks. Done! You now have a good-as-new zorb ready to roll!
Here is a pretty good video explaining how to repair an inflatable in general. The same concepts apply to the PVC zorbing balls since they are basically made of similar plastic and are inflatable. Check it out below:
Maintenance Tips For Your Zorb Ball
Repairing is the last resort when things go wrong. But before that, if you want your zorb to last long, consistent care and respecting some simple tips will make sure your inflatable hamster ball remains in optimal condition.
1. Regular Cleaning
A clean zorb ball is a long-lasting zorb ball.
Wash the zorb as often as possible after using it, to remove dirt and possible prickly stuff that gets stuck to its surface. Mild soapy water works wonders. As regular zorb ball users, we advise against using strong detergents as they might affect the PVC’s integrity. You should clean a zorb ball after every use ideally, but if not, at least after every second use. If possible, use warm-temperature water when cleaning it since it helps rinse off dirt much easier.
2. Proper Handling and Storage
Protecting your zorb ball from potential damage by properly handling and storing it is crucial.
So avoid dragging it on surfaces. Either roll the ball or lift it up altogether. Lifting the zorb ball when you need to take it from one place to another prevents undue stress on the material. Don’t roll the ball on potentially harmful surfaces. We recall an incident, where dragging a zorb ball on a gravel path caused minor superficial abrasions which, in time, led to a small tear in the PVC wall that we had to fix.
Storage conditions matter. Store PVC inflatables like zorbs in moderate temperatures. Excessive cold can make PVC brittle, while extreme heat might deform it. Covering it further protects against dust and external elements.
3. Usage Tips
Regular use is something that helps lengthen the life span of PVC inflatables. You should use your zorb as often as you can. Periodic use keeps the material flexible. We’ve noticed that after neglecting a zorb ball for months, it wasn’t inflating uniformly. Regular usage might prevent such issues.
Always be ready to fix a tear, and have the necessary fixing materials at hand. If you have a zorb ball at home or you have a business involving these kinds of inflatables, you should always keep a repair kit or some quality adhesive tape (fixing tape) handy.
Frequently Asked Questions About Maintaining And Repairing A Zorb
Here are some of the questions people usually ask when they want to know more about fixing an inflatable ball:
How often should I inspect my zorb ball?
For casual users, doing it monthly is more than enough. However, if the zorb sees heavy usage, such as in amusement parks or rental businesses, doing a weekly inspection is advisable. This way, small punctures can be found in the early stages, before they turn into full-blown tears.
What kind of adhesive should I use to fix a zorb?
You should look for adhesives that are specially designed for PVC or inflatable repairs. If you pick some generic adhesive, you might end up with a superficial bond that doesn’t last. Also, some adhesives might actually harm the PVC and lead to further degradation.
How can I prevent mold and mildew inside the ball?
Moisture is the main culprit behind the growth of mold or mildew. So to prevent that, you need to make sure the ball is completely dry before you store it. If you see moisture inside it, use moisture-absorbing packets or air out the ball from time to time to prevent the growth of fungi.
How long does a zorb ball last?
If you care for it properly, a zorb ball can last anywhere from 3-5 years. But you must store it properly, maintain it correctly and address punctures early when they happen.
How to address Folds And Creases?
Over time, if you stored a zorb improperly, or you simply abandoned it for way too long, then when you take it out to inflate again, it might have develop folds and creases. These might look esthetically bad when you inflate the ball, but more importantly they can become potential weak points.
So what you can do to address this is firstly to inflate the giant plastic ball slowly allowing the PVC to expand evenly. So don’t rush it. But the best tip would be to use warm water. Before inflating the ball, sink the folded ball in warm water and let it sit. The warm (not hot) water will make the PVC more flexible, and potentially prevent the appearance of folds.
Concluding Thoughts
Ultimately, a zorb ball’s life span and performance are closely tied to the attention and care you show it. Properly keeping and fixing a zorb ball shouldn’t feel like a chore but rather an investment into many more days of joy. Now that you’ve read our comprehensive guide on how to maintain and repair zorbing balls, you’re well-equipped to ensure every adventure is fun and safe.
With the right knowledge, tools, and the correct repairing technique, you can make sure your zorb remains the life of the party for seasons to come. May your zorbing adventures be endless and free of punctures!